
Step by step – the SRM emerger
I should have done this a while back but since my focus has been on pike fly fishing and fly tying only these past two years it kind of slipped my mind. This is an article that has been published twice, first in US magazine “Hatches magazine” back in 2009 (I think) and then in Swedish magazine “Fly and tie” 2013. Thanks to Roger Enger Lie who put my mind right to posting this, I hope you’ll enjoy it!

“For the sixth time I place the CDC fly upstream from the long shadow at the verge of the gravel on the bottom and for the sixth time I see it pass him without any reaction. Further upstream I see Chris catch another good sized grayling. Dammed it, why won’t this particular fish rise to the one fly that seems to be working for everyone else today. In my frustration I put a little too much force in the back cast and I feel how the fly hooks into the bushes and then the tippet snips off.
I do a quick consideration if I should go back to Chris and get another CDC fly or if I should try something else. While thinking about it I see the fish rise once more from it’s lair in the gravel and take something just below the surface. So far I had only seen them take the duns as they sail past but that looked much more like a rise to an emerging nymf. Slight tremble in my hands as I put on a new tippet and a size 18 SRM emerger. Two false cast, and then easy on the back cast and… yes! Perfect placing about two meter straight upstream from the fish! In slow motion I see how the fish backs off, quick movement in the tail fin and more than anything it looks like it’s just floating up towards to surface to meet my fly, opens its mouth and, YES! Strike! Oh my, it’s a trout… and a good sized one too!”
I am very fortunate to have been invited to fly tying shows around the world to show my flies and ramble on about my realistic fishing patterns and my view on fly tying. One question that I always get no matter where I tie is: “do you really catch more fish with those flies than with normal flies?” Normally this question will come either from an elderly gentleman who never would dream of fishing any fly pattern younger than hundred years or so or from a younger sturdy looking guy with long hair and a baseball cap who fishes 99% of the time with a wooly bugger, I think you know both types. I love these guys because they give me another opportunity to further ramble on about my view on realistic fly tying. I would say that on nine days out of ten you would have no, or very little, benefit from using a more realistic patterns than a more traditional pattern, but then again you probably won’t catch less fish either, but on the tenth day… that’s when you are going to see the difference! When the fish is selective for a specific hatch, and when it seems like it doesn’t matter what you put on, then these flies can make the difference! And once you experience such a day, and see what I mean… well once you go realistic you won’t go back!
The SRM emerger is the very core of what I love doing, and one of the flies in my box that I fish with the most myself. I use it often as a searching pattern when I see occasional fish rising before knowing what they are rising to. It is also the only pattern ever that I have designed by order, most of my patterns will come from my playing around at the vise with a very rough idea on what I want to do but not this one.
About six years ago I got an order of flies from a guy who was going to New Zeeland to fish, and I got the order six months before he was going away. He wanted a lot of different semi realistic flies and he also wrote “and I want you to tie me a realistic looking mayfly emerger.” Since I was a big fan of the Klinkhammer special pattern my reply to him was “What do you need that for, you will never need any other emerger pattern than the Klinkhammer anyway.” But he was persistent and still wanted me to do something for him.
Two year earlier I had experienced one of the biggest mayfly hatching I have ever to witness. It was for a hatch of the Ephemera Vulgata that we had come but we were fortunate to see 3-4 other mayfly species hatch at the same time also. After having fished a big drake imitation with some success I started to watch the fish feed and I found that every fifth take or so was duns on the surface being taken and the other was something just underneath the surface; the emerger. When a mayfly nymf reaches the surface it will stop there for a duration of time, sometimes only a second and sometimes much longer, to catch its breath so to speak before starting to break free of the nymfal prison. And boy is it in trouble hanging there because the trout loves an easy prey! What I saw was that it was actually the emerging nymfs of the Leptophlebia that was taken much more often than the drakes. My own conclusion was that these nymfs hung still several seconds before starting to emerge compared to the drake nymfs who started almost directly as the reach the surface. The drake nymfs were hardly ever taken and the same thing with the adult Leptophlebia. And I will say that the SRM emerger is designed with this behavior clearly in mind.

So to make a long story short: I took off from the Klinkhammer and its special look used the experience I had gained from the hatch two years earlier and added the same attributes that I then had in my mayfly nymf patterns along with some technical inspiration from Oliver Edwards and eventually the SRM emerger was born!
So would I call this fly an advanced fly to tie? Yes I think I would, but the main thing to remember is to be patient, patterns like these takes slightly longer to tie than a traditional fly. If you manage to keep patient and don’t rush then it should just be a matter of carefully follow the steps here. And if you need any more motivation just try and imagine the look of your fishing friends when they open the box and see a row of SRM emergers there!
General guidelines on how to tie a better SRM emerger:
– Use a good quality hackle and keep the length of the bars so that they when winded are in line with the bend of the hook
– Make sure that you wind the last 2-3 turn of hackle underneath the previous once, this will make all hackle barbs stand out and slightly upwards.
– Adjust the thickness of the foam to the size of fly you want to tie
– After having winded the nymf skinn and secured it with the front thread, add a drop of superglue to the whip finishes and cut off the nymf skinn before cutting the thread
– Keep the segments straight on the underside, this way all leg pairs will be in line
– If the legs are not centered on the underside of the hook, you can push them along the edge of the segment with your finger nail or dubbing needle.
– If you are fishing faster flowing waters you might have trouble spotting the fly, just tie up a few with a regular Klinkhammer style white wing and it will be much more visible.
Tying the SRM Emerger – step by step
Hook: Patridge BNX16B sizes 10-20
Thread: Veevus 14/0
Tails: Micro fibbets, synthetic quills or any other tail materials
Body: VN nymf skin
Hackle post: Yellow foam
Hackle: Good quality rooster
Legs: Golden pheasant tail “Veli auti style”
Even though I like to tie the fly in different sizes and colors to adapt to different mayflies that might be hatching I often find myself using a size 16 more generic emerger as a searching pattern. So the fly displayed on these photos is tied as a generic mayfly nymf appearance that can fit a lot of different hatches.
Step 1
Tie in your thread at the hook eye and just cover the obvious thorax area with tying thread.
Step2
Cut a strip of foam the same width as the thorax area. Chose the thickness of the foam to the size of fly you want to tie, here I have used 1mm thick foam. Rotate the your vise half a turn so that the fly is now upside down and fold the foam in the middle over the hook like on the photo with the thread hanging to the side of it.

Now hold the foam down folded over the hook with one hand and start winding the thread around the base of the foam just under the hook shank.

Keep winding the foam and eventually you can rotate the vise back up and keep winding until you have created a nice slot to wind the hackle in. Doesn’t have to be super neat, the hackle will wind nicely in it anyway and the nymf skin will partly cover it anyway.

Step 3
Now take a long hackle feather and strip of the fluff close to the root of it. Tie it in on top of the hook just behind the foam post.

Now raise the feather up and tie it in along the foam post also and then cut of the waste hackle quill.

Step 4
Chose three tails and make sure they are the same length and then measure them in to the right length on the hook. Start tying them down just behind the hackle tie down point and tie the tails down towards the bend and stop when the tails are at a 45 degree angle to the hook. You can now split the tails with your thread or do the “lazy way” in the final step. Either way wind your thread up to the foam post again.

Step5
Now we have much too steep “bumb” of foam on the underside of the thorax. To create a smoother underbody to wind the nymf skin over we need to dub the hook backwards to smooth out the transition and create a tapering. Simply just dub your thread and start dubbing the hook to the same thickness as the foam and then dub the hook thinner and thinner like you see on the photo.

Step6
Cut the end of the nymf skin to an angle and tie in at the corner.

Stretch it hard and tie it down to the tails. Hang the tying thread to the side and tie in another thread at the hook eye. Wind a few thread wraps towards the foam to smooth out the step down towards the hook eye. The whole idea here is to use the back thread to accentuate the segments and also trap in the legs, Oliver Edwards style tying!

Step7
Now wind the nymf skin forward, the first 2-3 turns that it will take to hide the small “tag” that the corner of the short end of the nymf skin I will use full stretch of it.

After that I will apply the same tension on the nymf skin all the way. Wrap it in smooth turns, making every turn cover the previous by 50%. Wrap so that the segments come straight on the underside, this will give you straight pair of legs once you tie those in.
Now this next thing is something that is hard to put in an instruction because it will take a certain amount of “feeling” on how to do this correctly and also will take the experience gained from tying a few to get the hang of it. So instead of trying to explain on how to stretch it to get the right result I will explain what we want to achieve.
When you have winded the nymf skin all the way up to the foam post you should have done one turn of the nymf skin just behind it like this. Don’t mind if you have it just slightly over the foam.

If you are out of place, try winding back and use more or less stretch on it instead. Now after you have done that turn just behind the foam post you need to lock down the foam as well as hide it and create good segments for the legs so sit in. So go with the nymf skin under the hook and half way over the foam thorax and back up again covering half the previous segment, this will cause the nymf skin to partly fold up over the foam post, this is not a problem.

Now go around the hook again and come down on the underside and cover the previous segment once more by 50% and come back up on the other side of the foam post. Now if this is done correctly you will now have covered the foam thorax and still have room to do one more turn of the nymf skin behind the eye.


Now you can tie it off with the thread at the hook eye. To cut the nymf skin without leaving any bulk at the hook eye, simply just stretch it hard and cut it close to the thread.

Step8
So now we have a nice tapered segmented body and some tails. Time to start adding a little realistic touching to it! Grab a dark brown marker pen and stroke the back of the body with it, front to back making it go down slightly on each side of the fly creating the very typical mayfly nymf appearance with the top side being dark and the underside light. Now you can also adapt the color used to do imitate a specific mayfly species, for example use a dark olive color for the Baetis etc.


Step9
Now bring back the thread left hanging at the back and start tracing each segment as you wind the thread forward, use a light tension on the thread and it will almost follow the segments by itself. Also, you don’t want to break off your thread at this point! As you wind your way forward you will see that the segments get more accentuated as you do this. Stop when you have only three segments left, should be just behind the foam post.
To do Veli Auti style legs you need to pluck a few fibers from the Golden Pheasant tail feather in a special way. It’s dead easy once you know how to. Use the feathers from the middle of the fibers and upwards, not to close to the tip, I like to say that the 3rd quarter of the feather is the best. Separate 6-7 fibers from the rest and hold it at a ninety degrees angle from the quill and do a quick pull of the fibers straight out and you will have these nice looking “feet” at the root of the fibers.


Now rotate your wise so the fly comes upside down and open up your thread wrap half a turn. Then pair two legs together so they are the same length. When you tie in these they are gonna rotate slightly away from you, so place them slightly towards your side of the hook at the egde of the segment and trap them in with your thread in a loose turn and then tighten to see them rotate into place and rise up.

Now cut of the fibers close to the body.

Go one segment forward to keep the legs in place and pair another pair together. Now open up that thread wrap by half a turn but keep pressure to the thread at all time otherwise the pair of legs that we have already tied in is going to come loose. Repeat the exact same thing as you did with the back pair; slide them in to your side of the hook and then wrap a loose turn of thread, tighten so see them rise up and then wind a segment forward so that you thread is now hanging in front of the foam post. What I try to do is to keep each pair of legs slightly shorter than the previous one, another fine detail to keep it more realistic.

Now you got it, so last pair is dead easy; open up half a turn, keep tension, slide in legs on your side, loose wrap and tighten. Now wind the last turn forward to the hook eye and do a half hitch here to secure the thread, you don’t want it to come off here and have to tie in the legs again!

Step10
Now we have something that really looks like the bent shape of a mayfly nymf don’t we! So it’s straight downhill from here, you have now done the hard parts. So wind the hackle around the foam post, I usually wind it like three turns down first, then three turns up and then down again. Depending on your own preferences you might want the fibers to curve down towards the surface or up away from the surface. No matter which way you prefer, what you want is for the “nymf” of the fly to be totally submerged when fished without any hackle fibers sticking downwards trough the surface film. So for the last 2-3 turns of hackle lift the whole hackle bundle upwards and force these last turns under the previous once to make sure no fibers are trapped down. Tie off the hackle on top of the hook and then finally add some whip finishes here and varnish the tie in point and cut your thread.

Step 11
Three small steps left, first cut down the foam to leave only a good “spot” of yellow when viewed from the top


Next take off the fly from the vise and look at it from the front to see if any hackle fibers are sticking downwards, if there are just pluck them off with a set of fine tweezers rather than cutting them off. Final step is optional, depending on if you have split the tails in step4 or not. If you haven’t, simply just heat your tweezers for 3-4 seconds and slide them along the middle tail pressing the other two to each side of it. Now you are done!

Once you see it sit on (or rather hang underneath) the water, you really see why this pattern is so good!

The seasons started
I actually caught my first fish on the seventh of january this year, that’s some kind of record! But then winter hit us finally with cold weather, sno and icing of the bays. But that lasted only just over a month and now most of my home waters are ice free so yesterday me and my oldest son was out again and we both caught small pikes in shallow waters. We also saw about 15-20 pikes on shallow waters, I estimated the biggest ones to be somewhere around 15-16 lbs! I don’t know if the breaking of the ice is some kind of signal for the pike to start migrating to shallow waters for spawning perhaps because there should be so many fish in shallow waters otherwise. There are still about 2 months until spawning should be at its peak!
It’s funny, every time I go out I usually start with trying a few new flies then perhaps something proven like green and gold and then if nothing works I put on red and white. And it’s remarkable how often that color get the fish going!

2014 – the year of the Pike!

I described previously briefly on the season that I have behind me and the frustration I’ve had with the fact that despite having way more fishing days this season and despite the fact that I’ve never caught so many pike on the fly during one season (one reason of course being due to the increase in fishing days) I still haven’t got a single fish close to the magic 10 kg mark.
So with that in mind I have decided to go on a mission. To start a campaign that won’t stop until I have reached my goal. 2014 is the year I turn 40 years old. And I won’t stand for not having caught a +10 kg pike on the fly before I turn forty!
I will fish more days, more waters and with more flies than ever before. I will travel to where ever I need to go. Fish hard rain, hard wind, snow, hailstorms or tsunamis. I will not stop for anything to reach my goal. My call now goes out to all my pike fly fishing friends all over Sweden. Who will help me reach my goal of catching my dream fish on a fly next season? Who will scribe his or her name in the history books by guiding me to my trophy pike? Who will join me in my quest for glory, massive amounts of sharp teeth and immortality? Who will let me in to their most secret “big pike spots” just to see me fulfill my life long dream?
That’s right, I hereby declare 2014 to be the Year of the pike. And the hunt for that big pike starts NOW!
Foxy Tails pro team
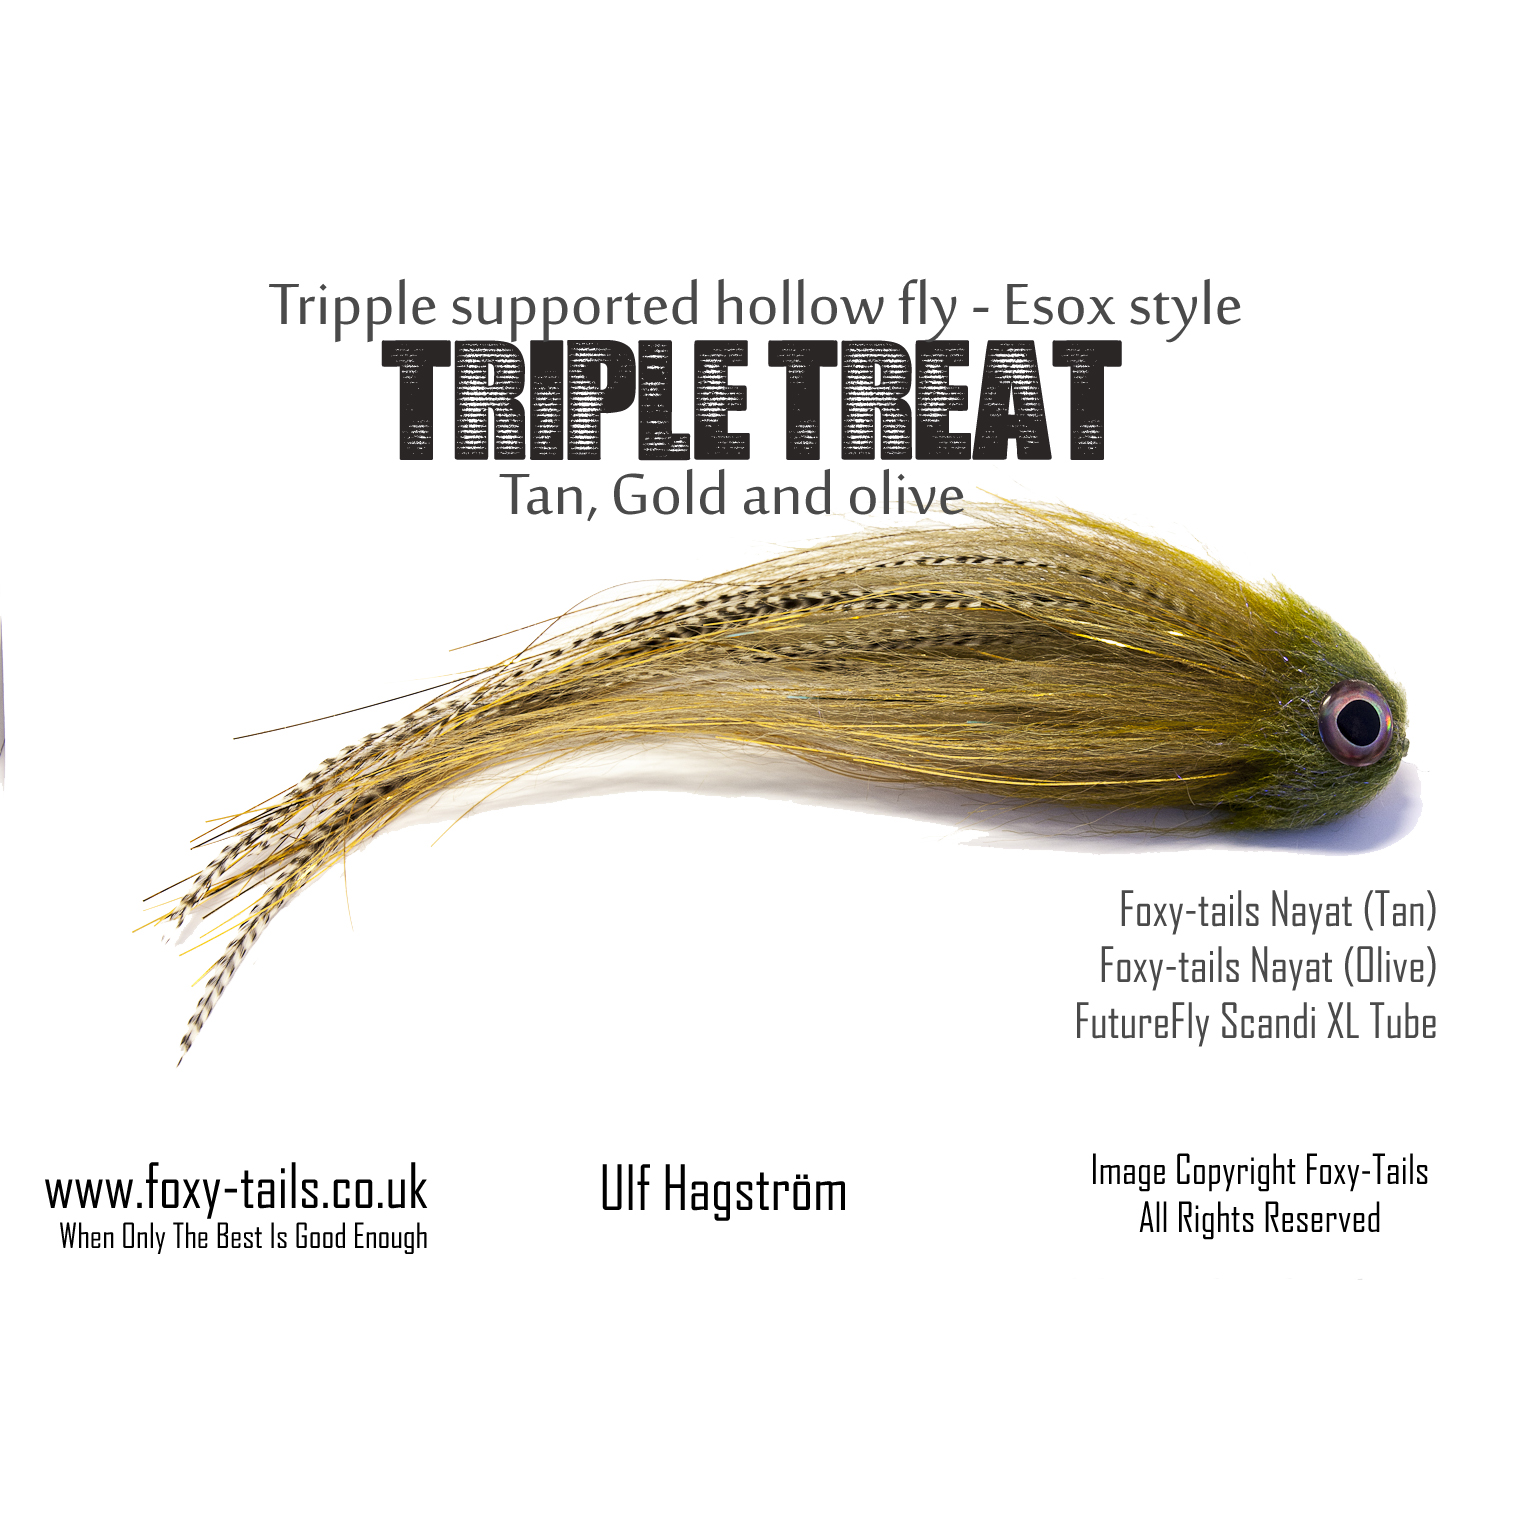
One thing that has happen during 2013 is that I deepened my cooperation with the good people of Foxy tails. For you who don’t know they are a UK based company that stocks mainly some of the best natural fly tying material there is. Having been focused on Salmon and sea trout fly tying they wanted to move more into Predator fly tying and I came in this past summer to help them promote some of their great stuff.
I would never promote something that I don’t like myself or have no use for and to be honest since I got my first Foxy tails materials every single pike fly of mine has had at least one material from Foxy tails, it’s that good. They also brought a new material to my attention that has quickly become my favorite material for my pike flies; Nayat hairs!
Here’s a few of my promotion flies for Foxy tails from these past months, all of these have also been fished with and every single one has caught fish too. So they might be used for promotion but they are all fishing flies that work great for me!


Hello, you missed me?
Okay, I am sorry. I’ve had long spells before where I have been quite lousy at updating this blog but this is probably an all time high. It is however not a coincidence that my latest blogpost was just a few weeks before the fishing season started for real here, because I have never fished as much as I have this year and 95% of my fishing has been in my home waters chasing that elusive brackish water Pikes that patrol the shoreline of the Baltic sea.
Even though there might be a few days left to fish in this season it is really coming to an end. And to summarize it has been both a good and a frustrating season. It’s been good because I have never caught so many pike during one season as I have this year, I have also gotten the opportunity to fish another water more frequently together with a friend who has a boat on a completely different spot than I have, which has allowed me to go to spots I couldn’t with my little boat.
It’s been frustrating due to the fact that despite all my efforts and all my days out I still have nothing really big to show for it. I’ve been in contact with a few really big ones, but not close to as many as last season where I got into a really bad period where I lost many 5-6 fish that all of them would have broken my current personal best pike on the fly. But I’ve still learned new things this season that I am gonna take with me into the next one that will improve me. I am well aware also that where I fish are not regarded big-pike area, it is the very outskirts of the worlds biggest archipelago and very elusive. But I have a goal and a dream and I will pursuit it.
I am gonna try and post more regularly from now on, especially now that we move into winter and there won’t be as much fishing. Here’s a few photos of me and some friends of mine from this past season for now, see you soon!


Your new best friend: The BFF caddis!
During my work on the caddis fly collection I started to free style a little with Snow Shoe hare material. I’ve not tied a lot with this material but when I finally managed to get my hands on a few feet in different material I really enjoyed it, this must be my favourite material for the moment!
Having tied a lot of CDC/deer sedge hogs I did something simillar with Snow shoe hare and hare’s dubbing, it turned out great. No it turned out more than great, I swear that this pattern has all the attributes to become my new absolute favorite caddis imitation!

Four small sections of Snow shoe hare, tied in on top of the shank and in between each section is natural hare’s dubbing (from the ear of the hare) in front of the last section of snow shoe hare is brown dyed hare’s dubbing. Once the fly is tied I brush out the underside by brushing it back/upwards, makes the hares dubbing blend nicely with the wing! And it is all tied on the Partridge TDH size 14!
How about it? Can this guy become your new Best Friend Forever? The BFF Caddis!!!
Caddis fly project 2013 – #16 & 17
Getting close to the goal of 20 caddis patterns, I gotta say it’s a cool collection of world class flies for caddis imitations this!
Number 16 – Rackelhanen
If te CDC and elk were simple with only two materials this is even simpler, only one material in the whole fly! A Swedish classic developed by Kenneth Boström many years ago it has caught so many big trouts and graylings in Scandinavia where it is one of the most known patterns. It is tied entirely out of poly yarn and when treated with flotant it will float forever!

Number 17 – The clown shoe caddis
Developed more recently the clown shoe caddis has all the attribute to make it a modern classic: it’s original, fishes well and features some profiled materials. Developed by Jay Zimmerman from the USA the fly was first named Boulder creek caddis but since being picked up by Umpaq fly company it is now named the Clown Shoe Caddis. Do you kn0w any pattern with more visibility than this one?

